


Supplies:
-Jar, vase or candle holder of your choice (I got mine for a $1 at Dollar Tree).
-Brush ( I used a $0.25 Foam Brush from Michaels)
-Armour Etch Cream ( 3oz bottle was $13 at Michaels, use a 50% off coupon!)
-Contact Paper (from the kitchen section of Walmart)
-Exacto Knife (craft section at Walmart)
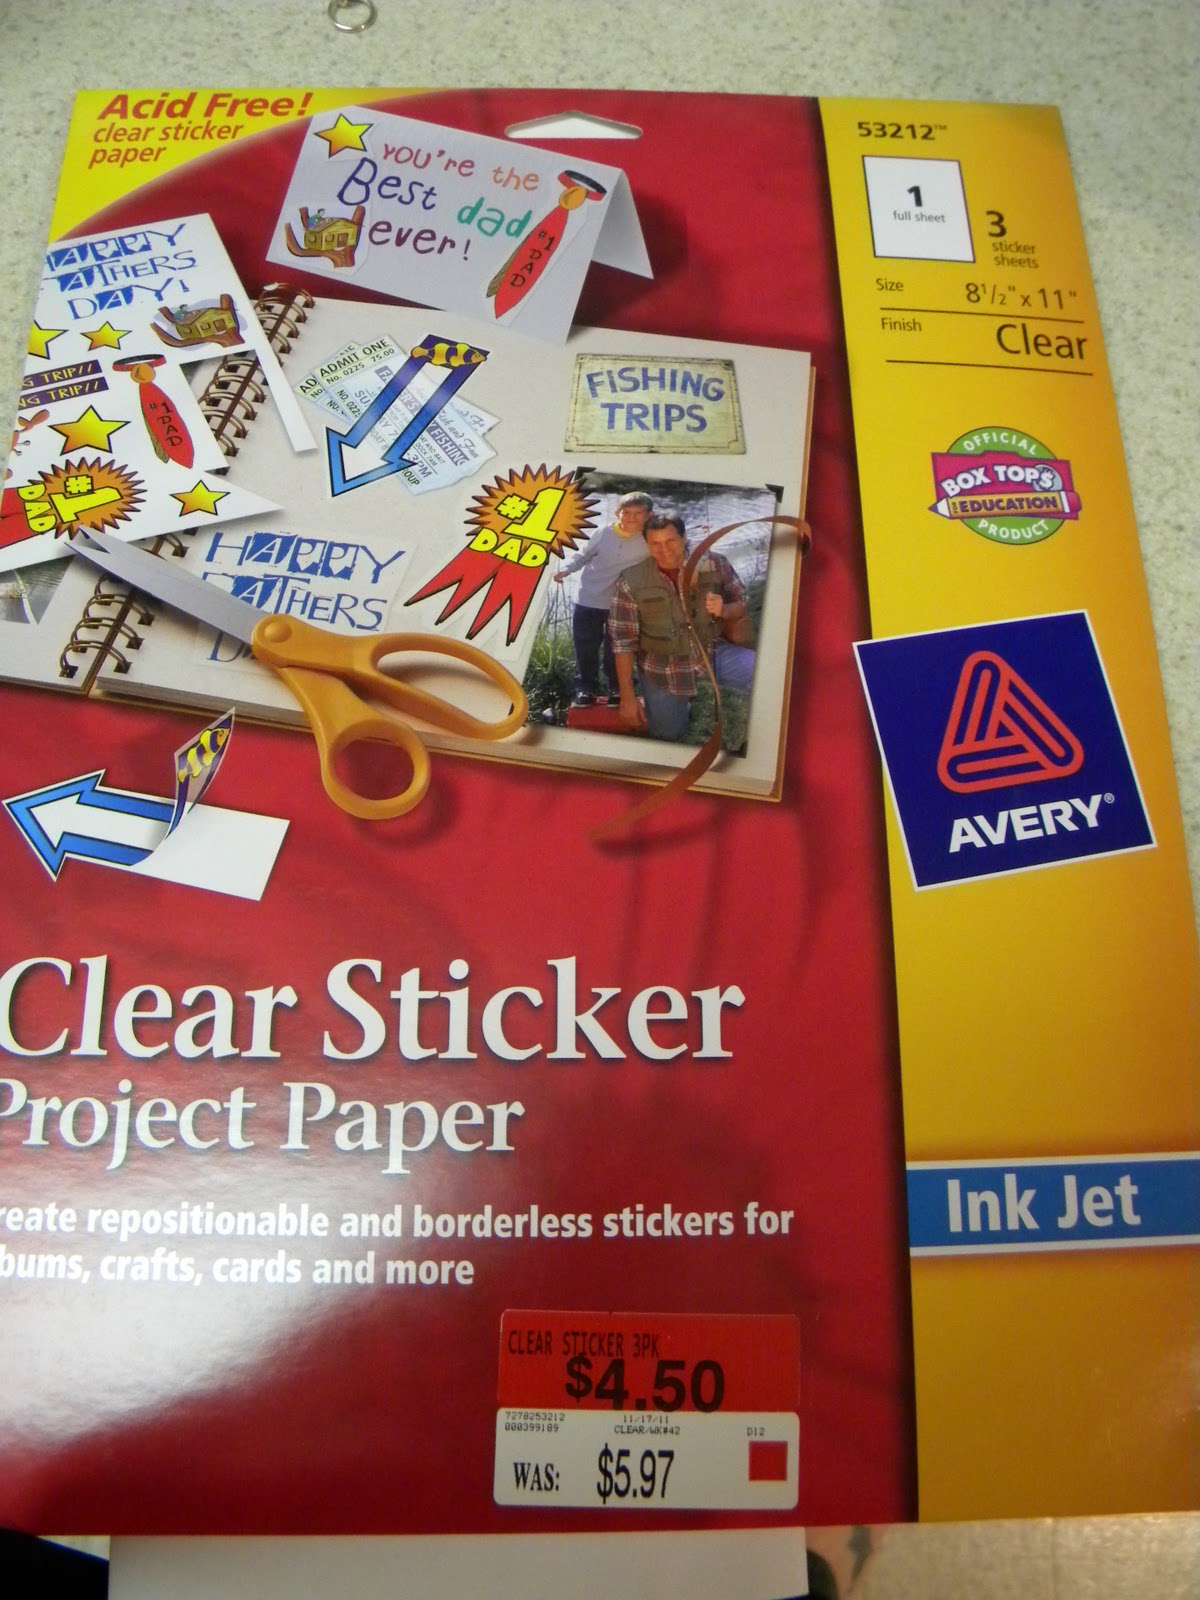
-Clear sticker paper (I found this onsale at Walmart, 8.5x11 sheets by Avery)
- Dripless votives (bought mine in bulk at IKEA, dripless candles are fine also)
- Font of your choice/size printed on regular printer paper or use a Cricut machine
- masking tape
-cutting board or other hard surface to cut on
-computer/printer
Directions:

1. Choose a font that will be easy to cut out. The more square the letters, the easier it is. Also make it as large as you can but will still fit on the vase (easier to cut with a exacto knife). My vases were 6" tall and I used size 60 font. Print onto regular printer paper. You can also use one of those fancy Cricut machines but I'm guessing if you have one and know how to use one, you probably don't need this tutorial.
2. Cut out a piece of contact paper at least 1" larger all the way around the words and tape the font page underneath the contact paper (do not remove the backing on the contact paper yet) to your cutting board. I have a basic tile kitchen table so I just taped it to that.
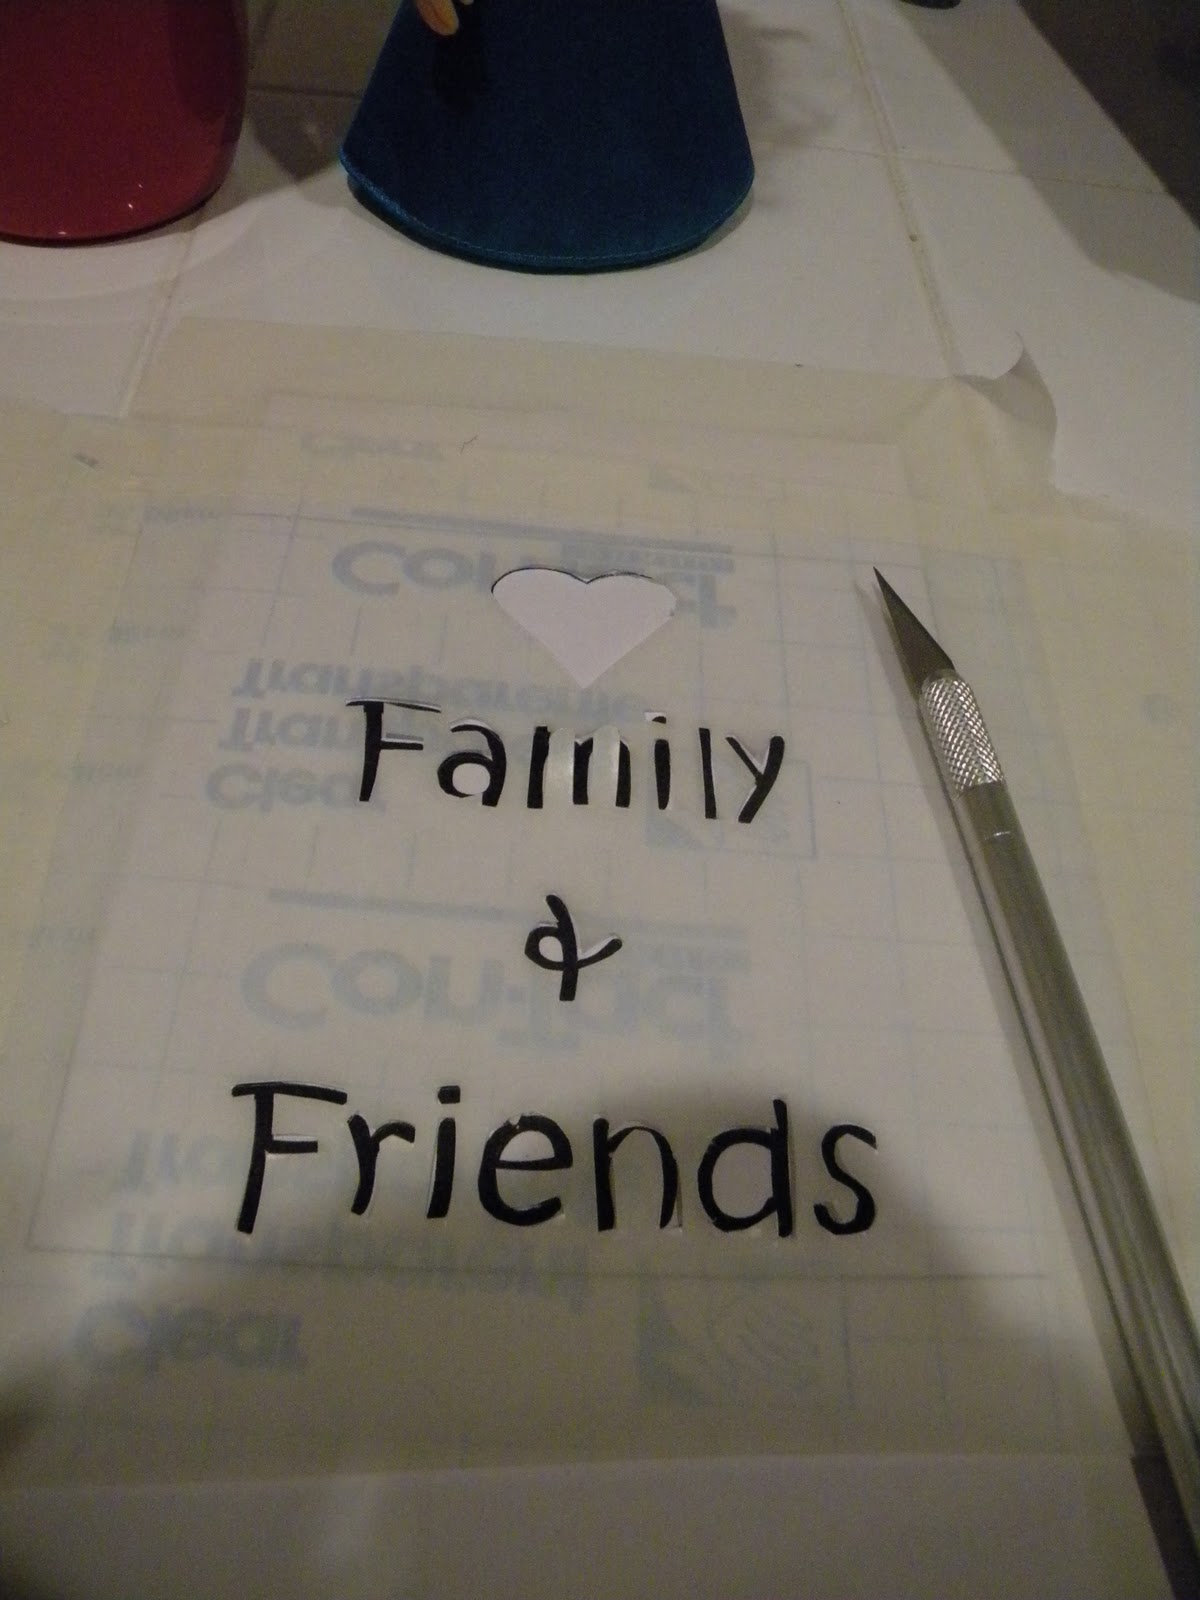
3. Using the exacto knife, trace and cut the letters out of the contact paper. Save the cut outs so that you can use the centers of the A's and e's etc later. When you are finished, you can throw away the printer paper with the font on it, you don't need it anymore.
4. Pull the backing off the contact paper and stick it to the face of the vase where you want the letters to be. Fill in the center of the letters such as O's A's e's etc with the pieces from the letters you cut out earlier. Make sure to check that all the edges around the letters are properly adhered to the glass, you do not want etch cream to get underneath the contact paper because once the cream etches, its permanent.

5. Follow the instructions on the bottle of the etch cream* Using the foam brush, paint the parts of the contact paper where you cut out the letters. You want to use a generous amount to fully cover the letters. If you don't use enough, the cream will only etch some parts of the letters (which you can go back later with a small paintbrush and paint in if this happens, ) and if you use too much it will drip (I have done this also and there is no fixing this if it drips down onto the glass. If it drips and you catch it immediately, you can wipe it off, but if it sits for any amount of time, it will start to etch the glass). I found that I needed to leave the cream on for at least 10-12 minutes in order for everything to fully etch (which is double the manufacturer's recommended time).
*Note- The bottle I had said to leave the cream on for 5 minutes and to use their stencils. I made my own stencil using contact paper and left it on for 10 minutes.
When done, use your fingers and water to rinse off the etching cream, pull off the contact paper and clean all the etch cream off. Dry off completely and check for any place that needs touched up. Use a small paintbrush to apply etch cream to touch up areas and leave on for another 10 minutes.
6. Follow the instructions for printing the photo onto the sticker paper, cut to size and apply to the outside of the glass, opposite to the etching. I have found it looks much nicer and the etching and flame is easier to see with a darker background photo. Use the side of a credit card or thick business card gently to rub out any bubbles.

Although the etching is washable, the sticker paper probably isn't so I would recommend using a dripless candle or votive inside the vase. The photo will look great from the outside when lit up by the candle.
No comments:
Post a Comment
I find inspiration in others as well as myself and therefor welcome your ideas. Please leave a tasteful message or constructive criticism. Any rude comments will be deleted. Thank you.